It takes maximum 5 minutes to setup the booth t your event.
You don't need additional tools for it.
Just check how easy it is.
You can control RGB backlight with a Magic Led app at your phone.
White backlight can be controlled from the MixUp software (right top corner).
And there will be integrations with different IOS software programs. Just let us know what software you use. Maybe integration is already available.
What do you have inside the booth?
Special fixation for DSLR cameras. Bend back the lock on the left, pull out the mount, and secure your camera with the screw. Slide it back in.
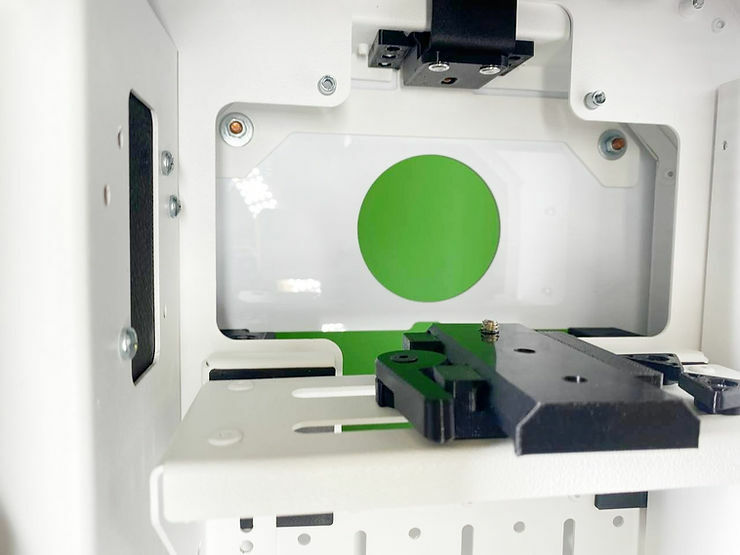
You can also expose the camera horizontally or vertically. To do this, you can use a screwdriver (included) to unscrew the 2 screws of the panel and put it in the desired position.
Also, you can adjust the camera closer or farther, left or right.
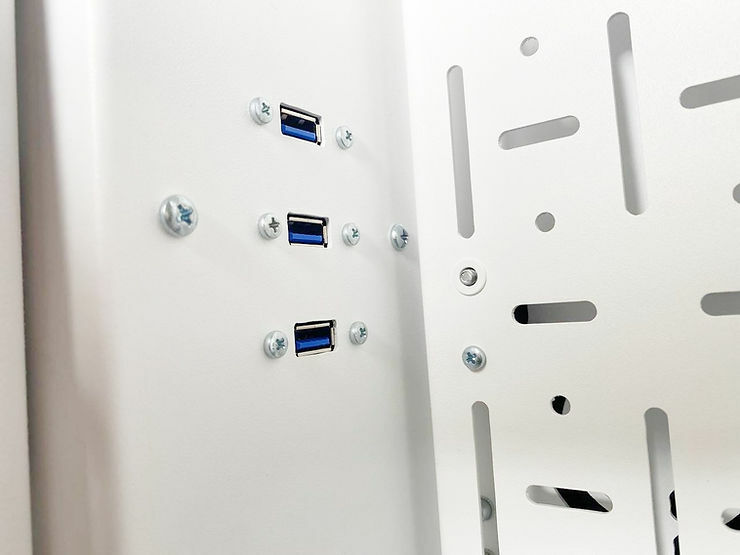
The booth has 3 USB ports that will be connected to your device.
You can plug your printer, camera, etc. into them.
You can insert a power wire into the foot of the booth.
Furthermore, you can also put the wire leading to the printer in there. This way there will be less visible wires.
The booth can also be connected to a battery, and the battery fits in the back of the booth.
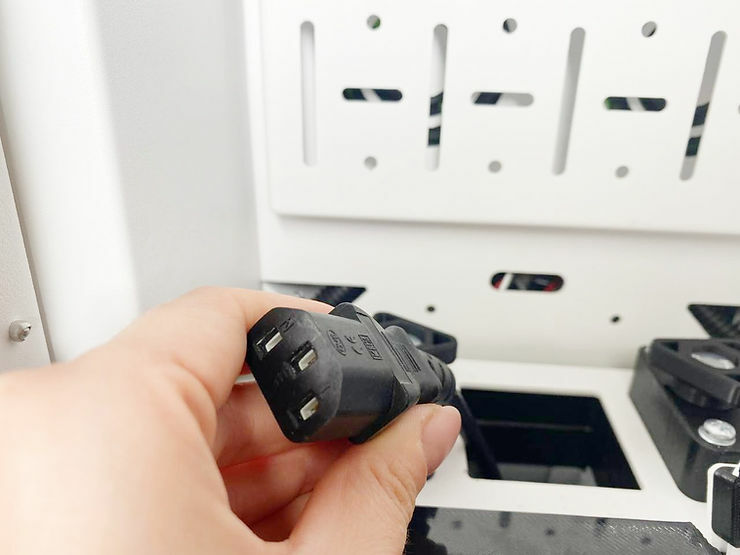
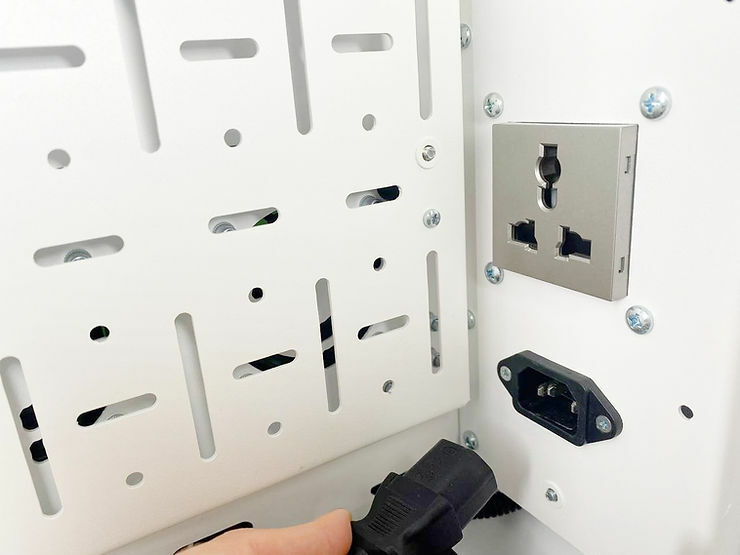
In this picture, you can see where you need to plug the power wire.
There is also an extra outlet in the booth. You can plug a DSLR camera or an iPad, for example, into it.
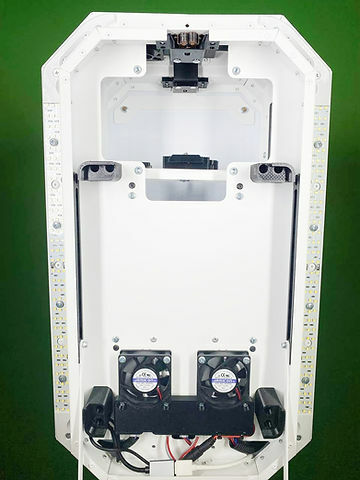
Front side of the booth.
There are 4 black fixations for your Surface model 7, 8 or Ipad. They are easy to change - just unscrew with a screwdriver and screw in the right ones.
In the photo you see the USB, which should be inserted into a surface or Ipad and the input to the type-c.
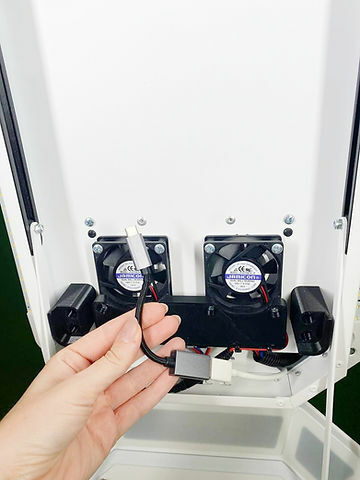
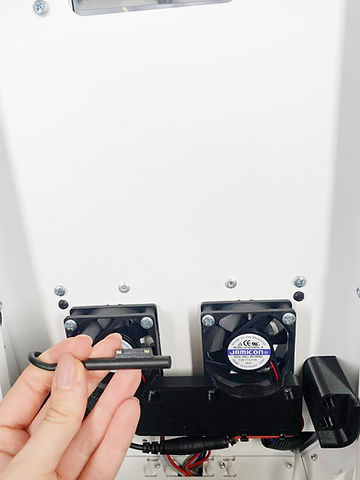
This is the charging cable of the surface. If you have an iPad, you will need to plug it in to charge it into the outlet that is in the back of the booth. There is a special hole under the fans to make this as easy as possible.