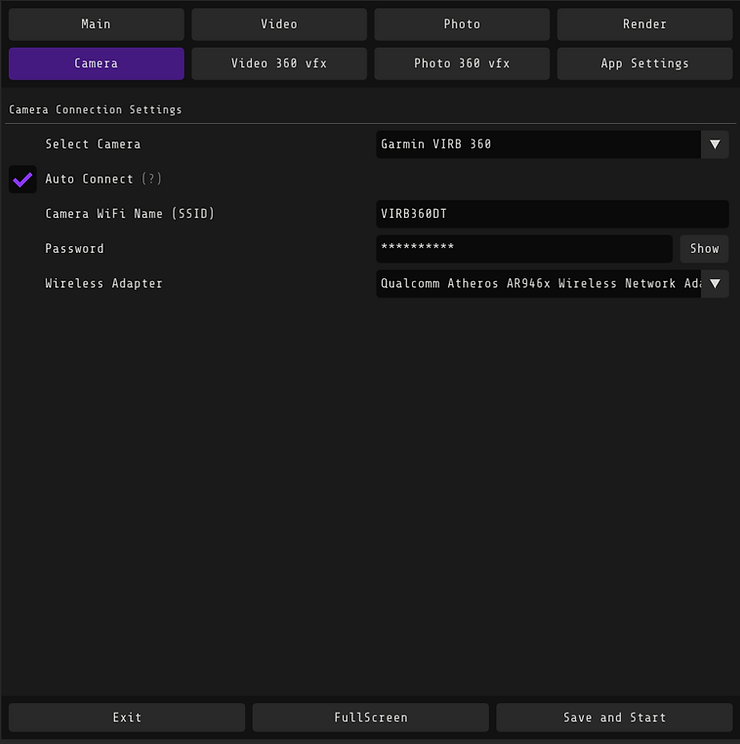
1. The first thing you need to do is to go to the camera settings, select your camera and text it's name and password.
Auto connection must be turned on. In case if you want to connect to the camera using your adapter, choose it in a "wireless adapter".
Exit button will close the program.
Fullscreen will open the program in a full screen.
Save and start will show you the screen that your guest will see.
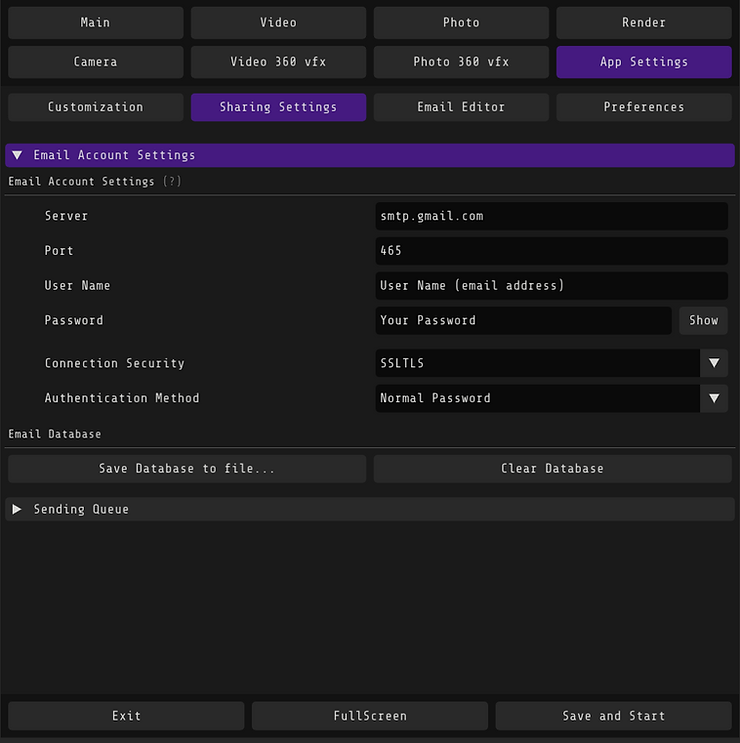
2. Then you need to go to App settings-sharing settings.
Here you can set settings of your email for sending.
You see settigs for gmail on the screenshot.
After that you need to allow not secure apps in your google account-security-non secure apps.
3. In a main screen you'll see your current status of the camera connection, recording time, final video duration and file size.
You can choose to make
1) video+photo
2) video only ( also you can allow the program to make the photo from the video)
3) photo only (also you can create an additional video from photo)
If you change the recording time but the duration of final videois not the same, then it means that reverse(loop video) is turned on in "Video".
You can also change resolution, aspect ratio, photo orientation.
Test processing allows you to render photos and videos from old events using your current settings of the program.
You can start making your first videos and photos from this moment by pressing save and start.
If your camera is not connected, then you'll see an error "something went wrong".
If it's connected, then you'll see the start button.
If you need to return to the program, then swipe right on the top of the start screen.

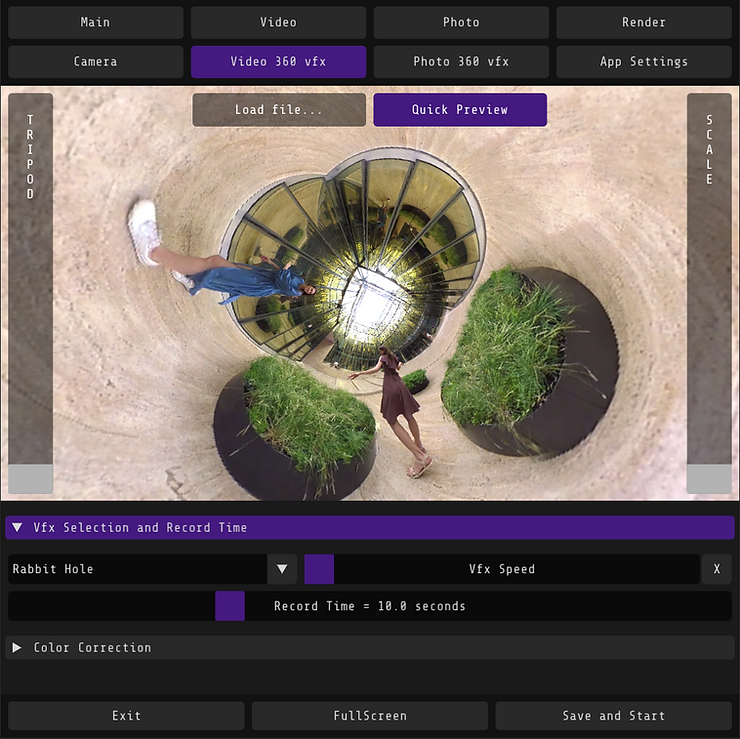
4. Video 360 vfx shows you how your videos will look like.
You can change the settings of tripod if you don't want to see the stand with a camra.
You can also change the scale.
You can also choose a vfx mode. Now it's chosen a rabbit hole. You can also change it's speed by changing "vfx speed" slider and record time.
Color correction helps you to improve the final picture. We recommend to add a little bit contrast.
With "load file" you can choose an archive video for preview.
Quick preview shows the frame from the last rendered video for you don't have to wait the full video loading.
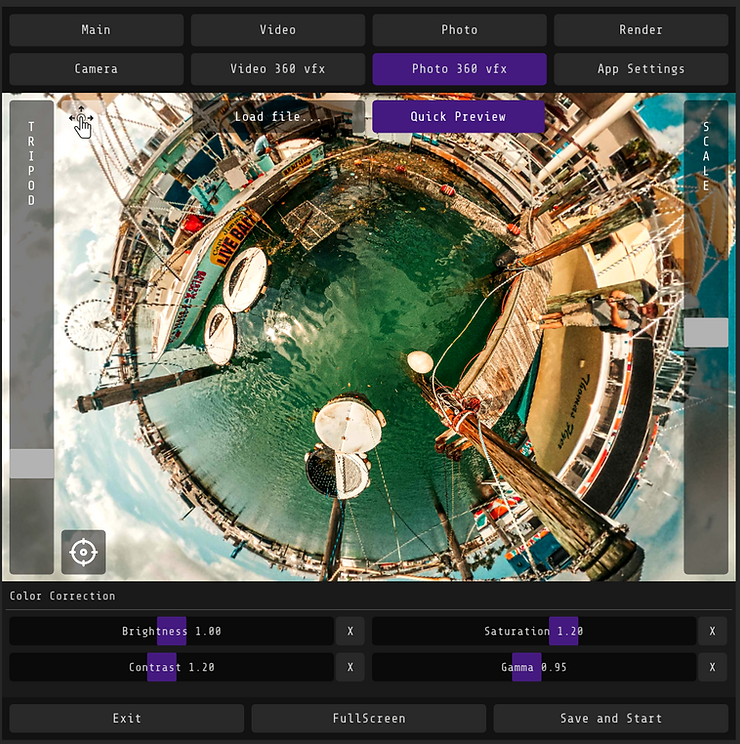
5. Photo 360 vfx
It has the same functions as video 360 vfx.
But here you can also choose the angle of view of the picture. Just press the left button and move the mouse on the picture.
Press crosshair if you want to return to the standard angle settings.
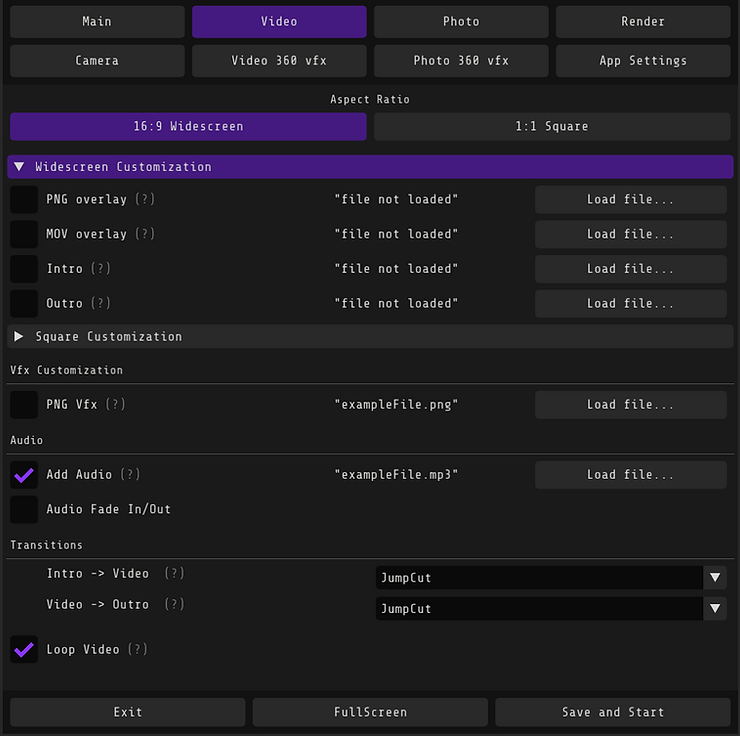
6. Video.
In this folder you can load your customizaion files.
Please note that you'll need to load files for a widescreen and square videos separately.
If you press the question button, then you'll see information of the file that can be used.
Png vfx will be applied to the widescreen and square videos. This is a png file to which will be applied effects (in my case rabbit hole).
You can also add any mp3 file as a music and to add a fade.
Loop will allow you to add a reverse at the end of the video. The duration of the final video will be doubled.
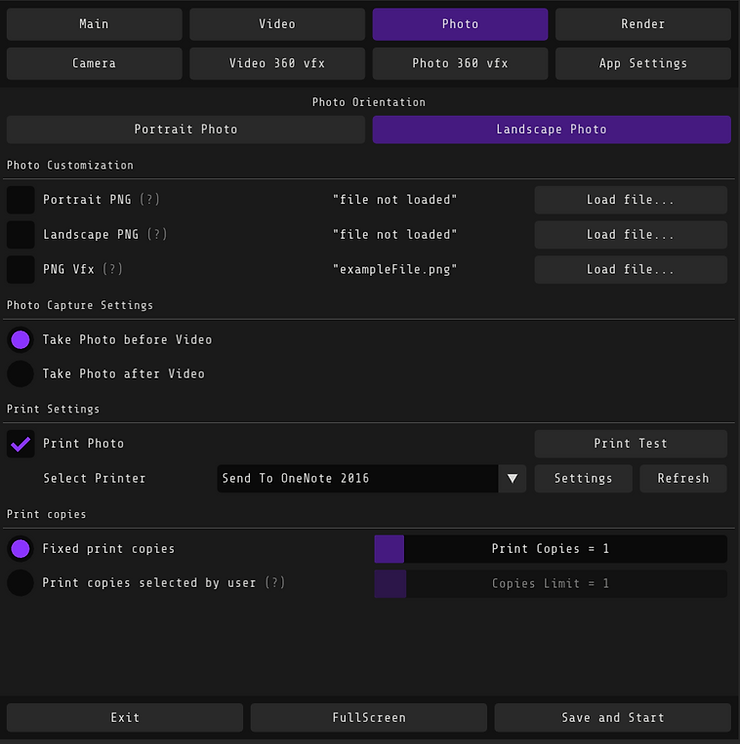
7. Photo
You can change the photo orientation.
You can also take photo before video or after it.
Also you can allow printing photos. In this folder you can select a printer, make a test print.
Also you can print the chosen number of photos or allow your customer to choose it on his own but you can set the limit of copies.
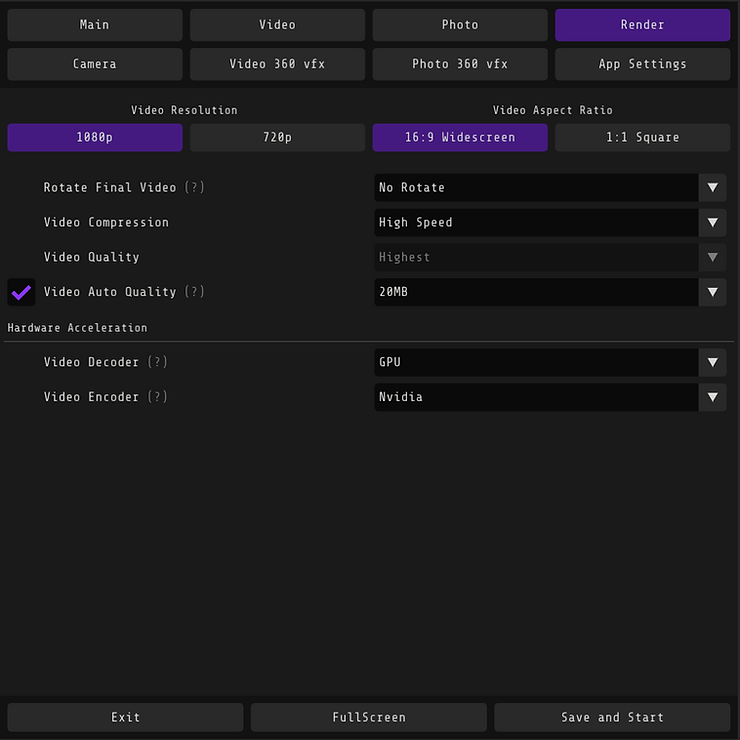
8. Render
The main settings here is auto quality. We recomment to set it 20 mb and less for you could easily send it to people by email.
Hardware acceleration allows you to use maximum of your laptop. Try rendering with different settings and to use the one that will be the fastest.
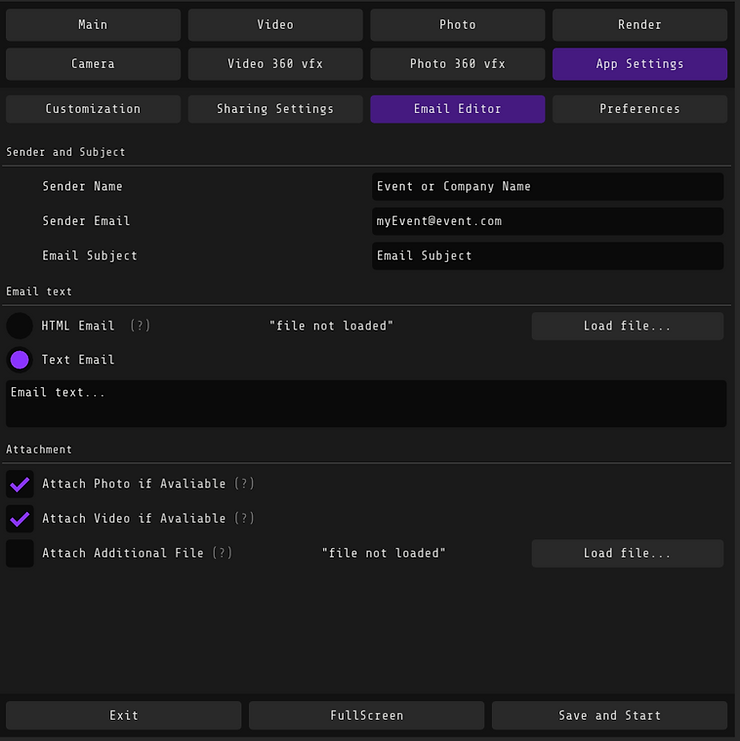
9. App settings - email editor
In this folder you can change your text, email subject, sender mail. Also you can choose if you want to attach photo, video or some additional file that you want to send people (maybe your presentation and etc)
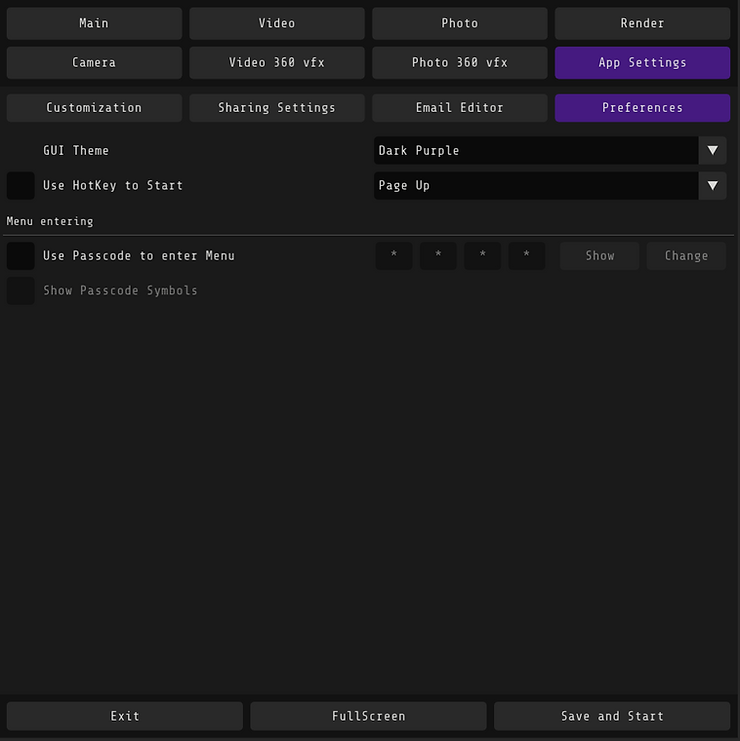
10. App settings - preferences
In this folder you can change theme that you see, turn on using hotkeys if you want to start recording from a remote presenter and to change a password for the access to the program.
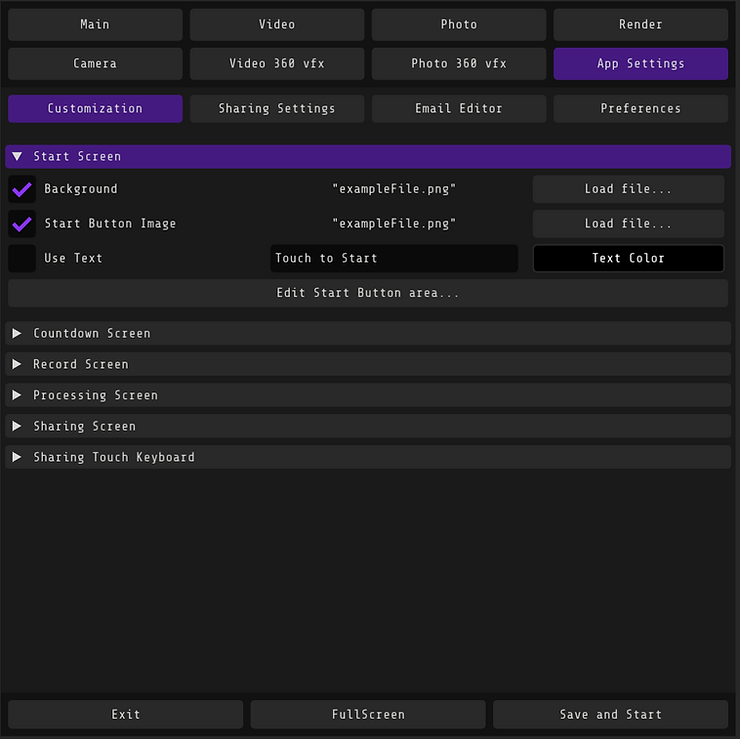
11. App settings - cutomization
In this folder you can customize all screens that your guest will see.
You can change backgrounds, buttons, their colors and etc.
You can also click "edit Start button area" and you'll see how everything will look like and to change the size of buttons, to move them.
Other customization settings work the same way.
In a sharing touch keyboard you can change quick domains.
Useful if you make a corporate event or want to add your own domain there.